


+
Step 1: Plan your mask (to size) on white copy paper.
Step 2: Cut your mask out of thick paper.
Step 3: shape and add dimension.
Step 4: tape the entire thing up inside and out
Step 5: paper mache with newspapers
Step 6: paper mache with paper towels
repeat steps 5 and 6, then final paper mache with paper bags.
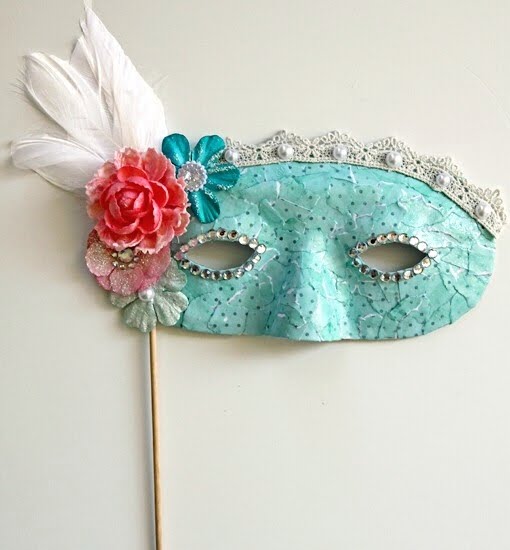
NEXT: paint and embellish with feathers, beads, etc.
Grading:
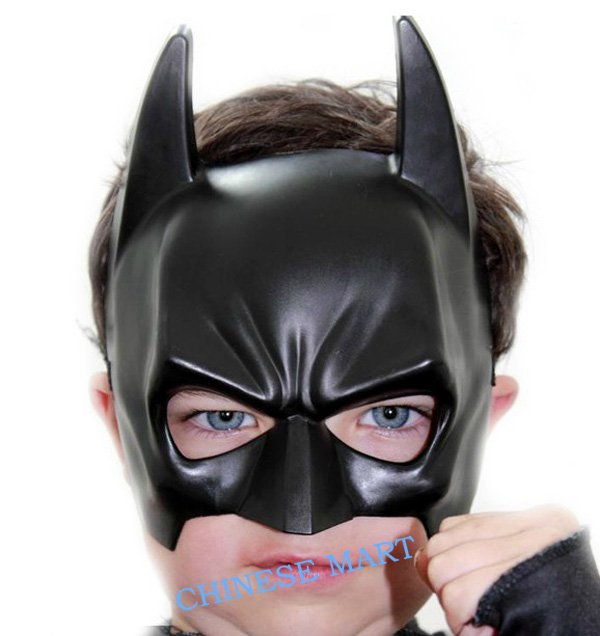
- Creative/CHALLENGING design that covers no more than 2/3s and no less than 1/2 of your face
- Eye placement is in the correct spot.
- Mask is not flat, but has some dimension.
- paper mache work is smooth and strong with no visible ridges or bumps
- All of the edges of the mask are smooth, with no stray papers popping up
- The painting has no underpainting showing and also has crisp edges.
- The mask has been embellished
- The mask either has a stick or a string to hold it in place.
- Overall neatness and presentation
- Turned in on time and used time management