Today you'll be story-boarding your ideas for a basic flip book. There are lots of really cools ones available online. I'll link to a few here: Here's one about a bus gone wild. Here's one done in a Matrix style. Here's a sweet and sappy one. And here's another video using two flip books at a time.
tips:
1. storyboard your idea on the 9 panel sheets. It's easier if you have a first panel in mind and a last panel. Then you can fill in the blanks. You should use at least 50 panels.
2. after you're done storyboarding, start drawing your first panel on the last sheet of the post its.
3. keep your drawing on the 1/2 of the post it that's further away from the sticky side
4. eventually these need to be inked.
5. backgrounds are optional.
6. keep characters simple enough that you won't mind drawing them over and over and over and over again.
Check this out for some flip book history!
Wednesday, January 5, 2011
Monday, January 3, 2011
Starting to Animate
This week we're starting with animation. We'll be starting our process with this website. Here is my first attempt at working with one of the many online programs.
Monday, November 29, 2010
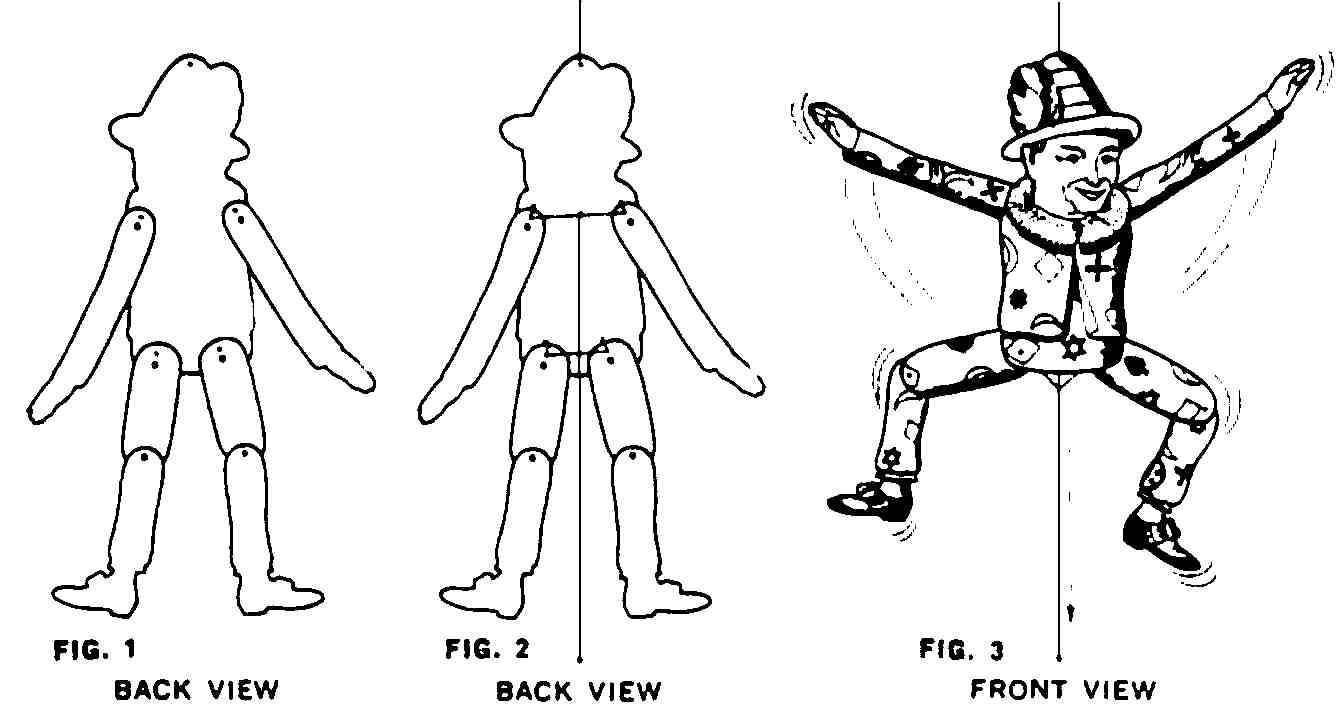
Jumping Toy

Here's a great tutorial.
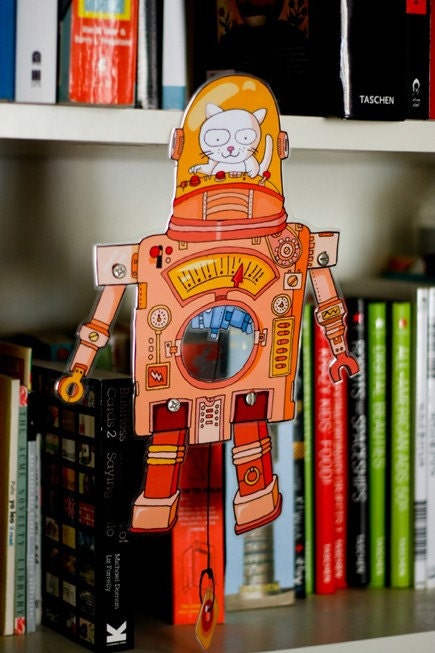
1. Sketch your idea on a piece of drawing paper.
2. Transfer your image onto tag board so it looks like this.
3. Cut it out.
4. Use oil pastel and magazine pictures to work color and texture onto your jumping toy.
We'll talk about how to fasten these together a little later in the week.
Monday, November 15, 2010
Clay Bowls
Starting on Tuesday, we'll be working on clay bowls in Art I this week. I love working with clay! Here is a video showing what we'll be doing in class. We'll be making 2 bowls and we'll add words by stamping letters into the wet clay. These will be due on Friday.
TIPS:
The less you handle your clay, the less it will dry out and crack while you're still trying to work with it.
The more you support your clay with both hands and handle it carefully, the more cooperative your clay will be.
While you can stamp your clay with letters, you could also imprint things like your pencil tip or eraser to make a mark.
Grading:
slab is thrown with uniform thickness. Thin edges are removed and there is no cracking.
Background texture is smoothed, while the impressed texture is bold and visually appealing.
The foot is attached with NO seams showing.
The glaze is applied evenly and is visually appealing.
Craftsmanship: name on the bottom, attention to detail.
50 points each.
Wednesday, November 3, 2010
Inking Inspiration

You always hear me talk about varying the width of your lines to create interest. I think this is an inspiring example that mixes up inking techniques in a very positive way. Is there anything in this example that you could incorporate into your art work?
Today in class: Critiques. Write a positive comment and a comment that encourages revision for 2 classmates.
Pencils are now due on Monday, due to no class on Friday.
Tuesday, November 2, 2010
T-Shirt Design


Bring in your t-shirts! It's your turn to design what you want to be on your shirt! Got school spirit? Put it on your shirt. Into music? Put it on your shirt. Want to tell a knock-knock joke? Put it on your shirt. The possibilities are endless.
Here is a video that shows the process a little more elaborately.
Monday, November 1, 2010
Watercolor Self Portrait

We're working on self portraits in Art I right now. We took pictures of each student and then ran them through the program at phixr.com. Once the students have manipulated their picture, they trace it on a piece of watercolor paper. The rest of the tutorial is here. These are due on Wednesday, November 3rd.
Here's a really cool video using many of the techniques used for this painting assignment!
Subscribe to:
Posts (Atom)